Guides
Guides to compressing video and freeing iPhone storage
Every guide starts with what you can do using the tools already on your iPhone, then shows where Minivid saves you time.
Compress and edit video
6 min read
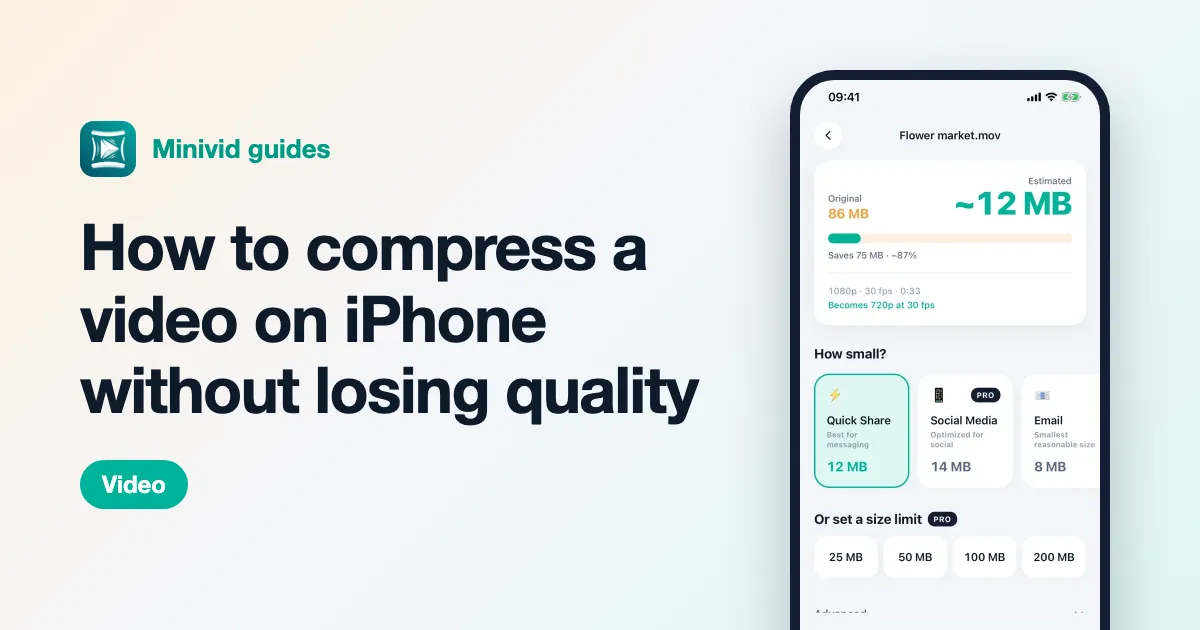
How to compress a video on iPhone without losing quality
Shrink an iPhone video without visible quality loss: trim first, pick the right resolution, frame rate and codec, and use the tools already built into iOS.
Read guide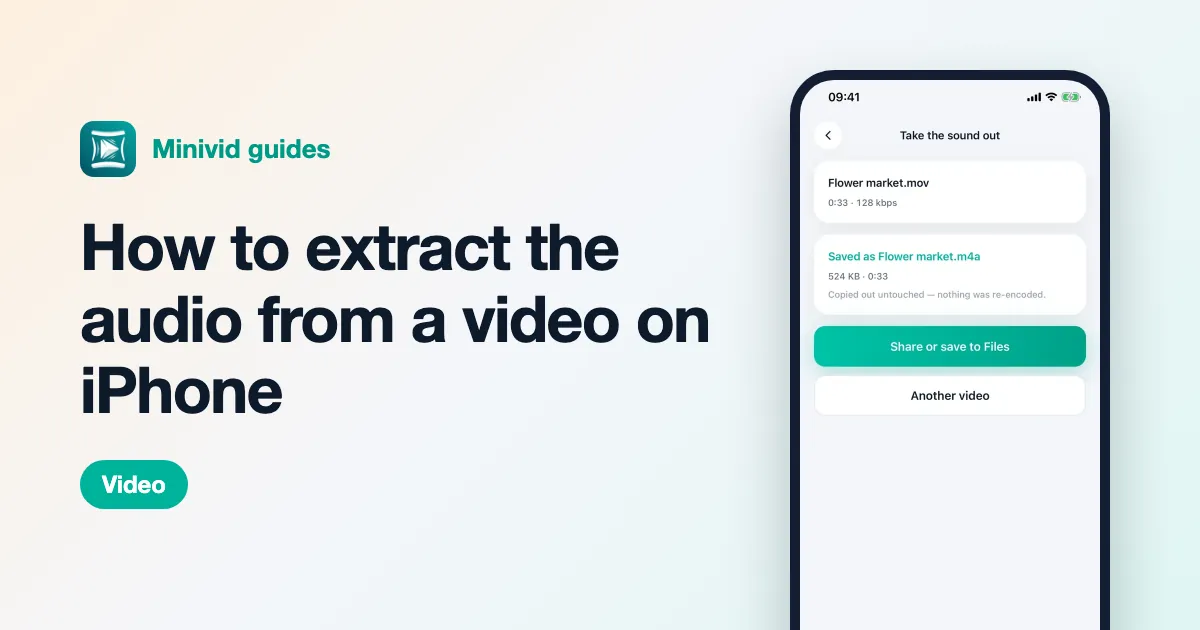
6 min read
How to extract the audio from a video on iPhone
Save just the sound of a video — a talk, a song from a concert, a voice message someone filmed — as an audio file on your iPhone, with a free Shortcut or iMovie.
Read guide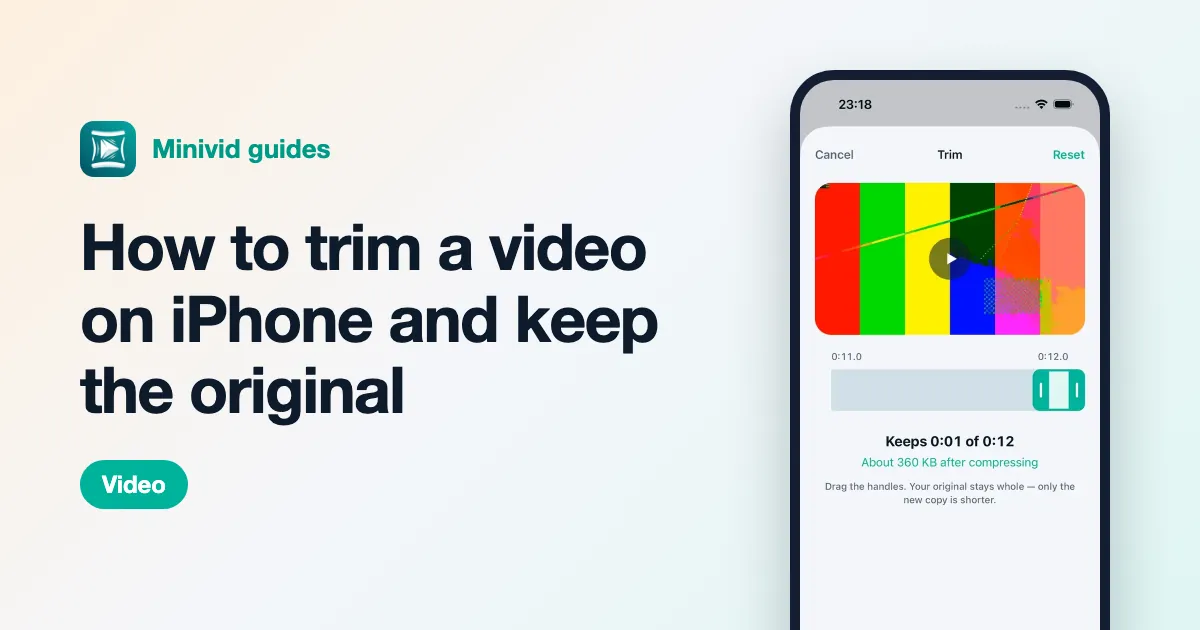
6 min read
How to trim a video on iPhone and keep the original
Trim the start and end of a video in the Photos app, save it as a new clip so the original stays whole, cut a section out of the middle with iMovie, and see why trimming saves the most space.
Read guide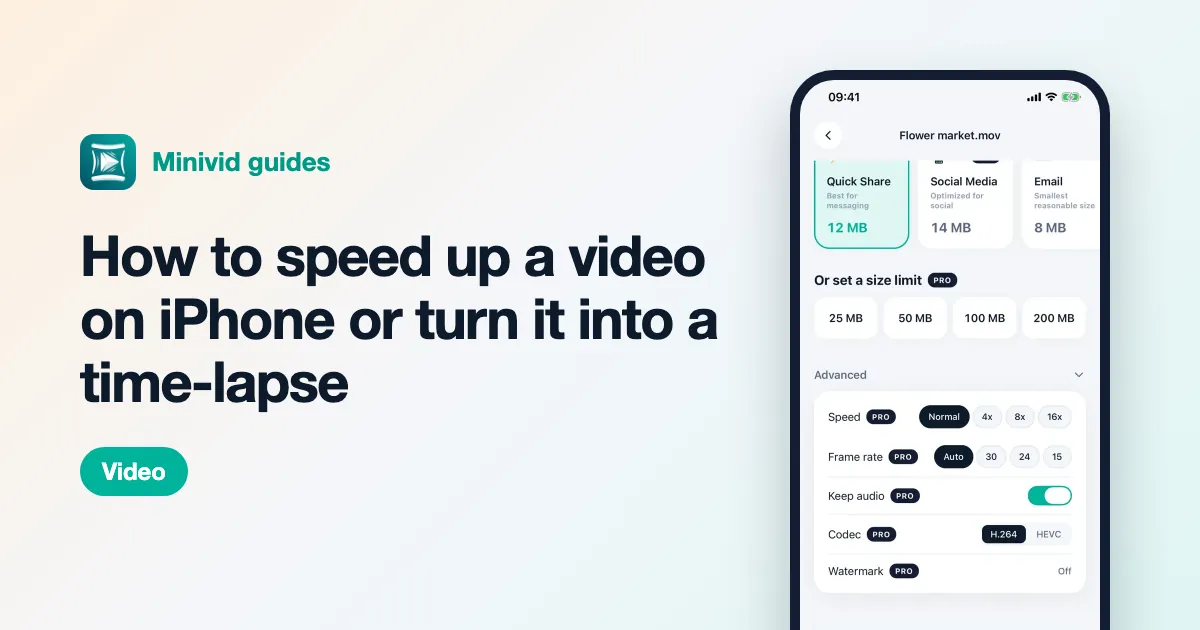
6 min read
How to speed up a video on iPhone or turn it into a time-lapse
Speed up a video you have already filmed with iMovie’s speed control, go past its 2x limit, decide what to do with the sound, and record a real time-lapse next time with the Camera app.
Read guide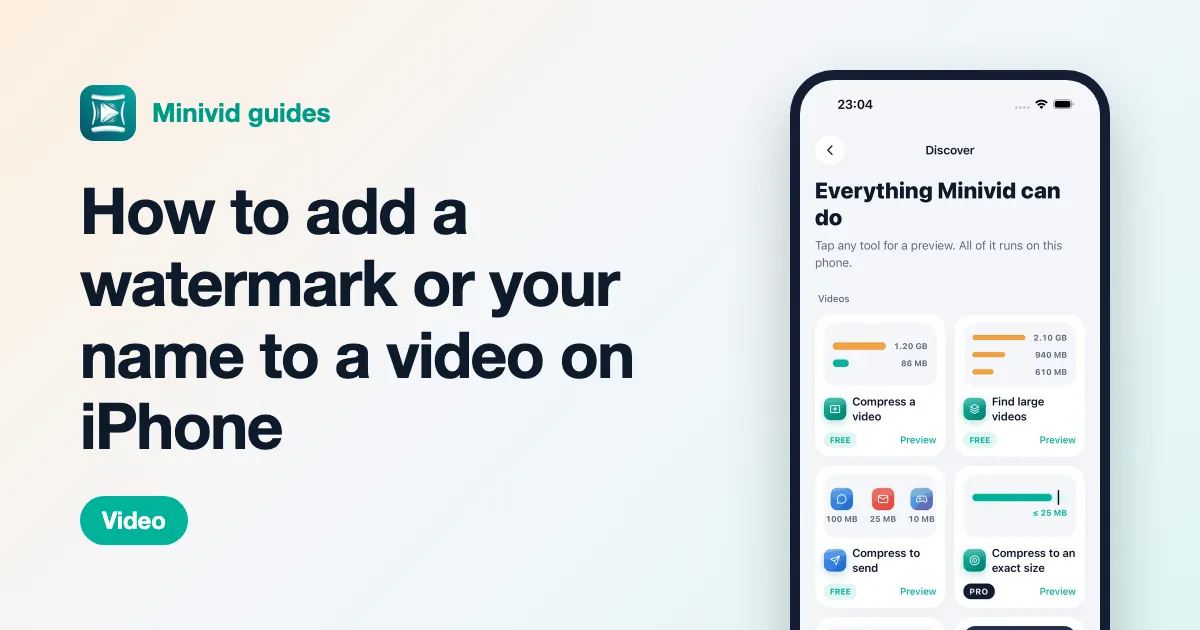
6 min read
How to add a watermark or your name to a video on iPhone
Put your name, shop name or handle on a video with iMovie’s titles, keep it on screen for the whole video, choose where it sits, and know what a watermark can and cannot protect.
Read guide
6 min read
Change the iPhone camera settings or compress afterwards? Minivid vs the built-in way
High Efficiency and a lower Record Video setting make every future video smaller for free. Compressing afterwards shrinks the videos you already have. A side-by-side comparison and when to use each.
Read guideSend video
6 min read
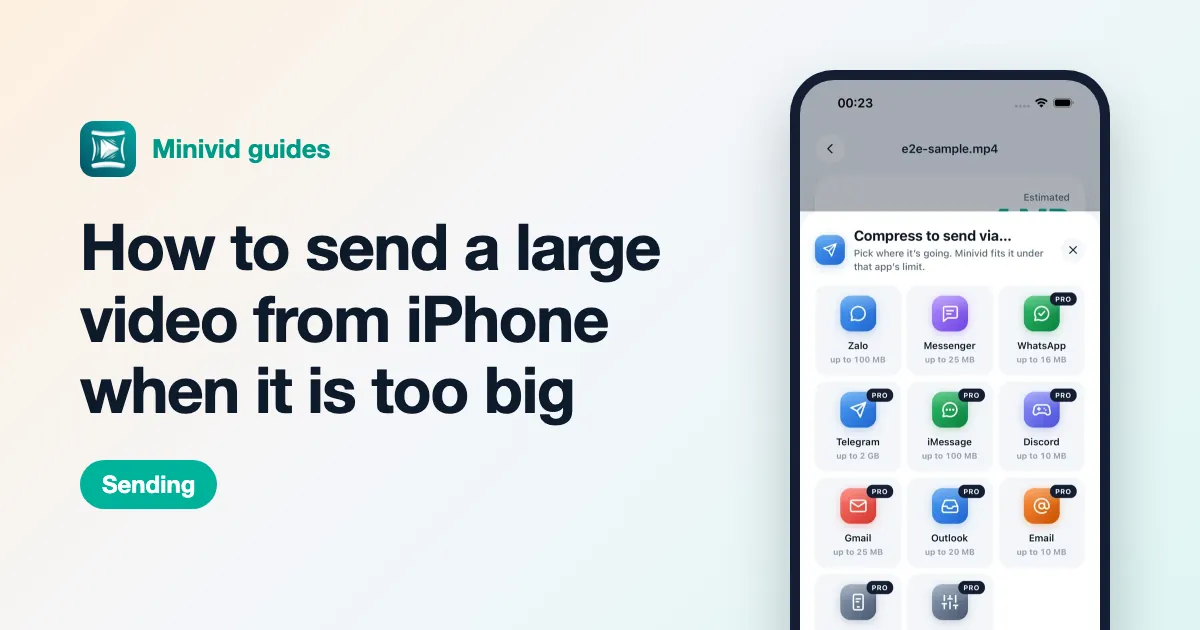
How to send a large video from iPhone when it is too big
Video too large to email or send in a chat app? Six ways to send a big iPhone video — Mail Drop, iCloud links, AirDrop, sending as a file, cloud links and compressing to fit.
Read guide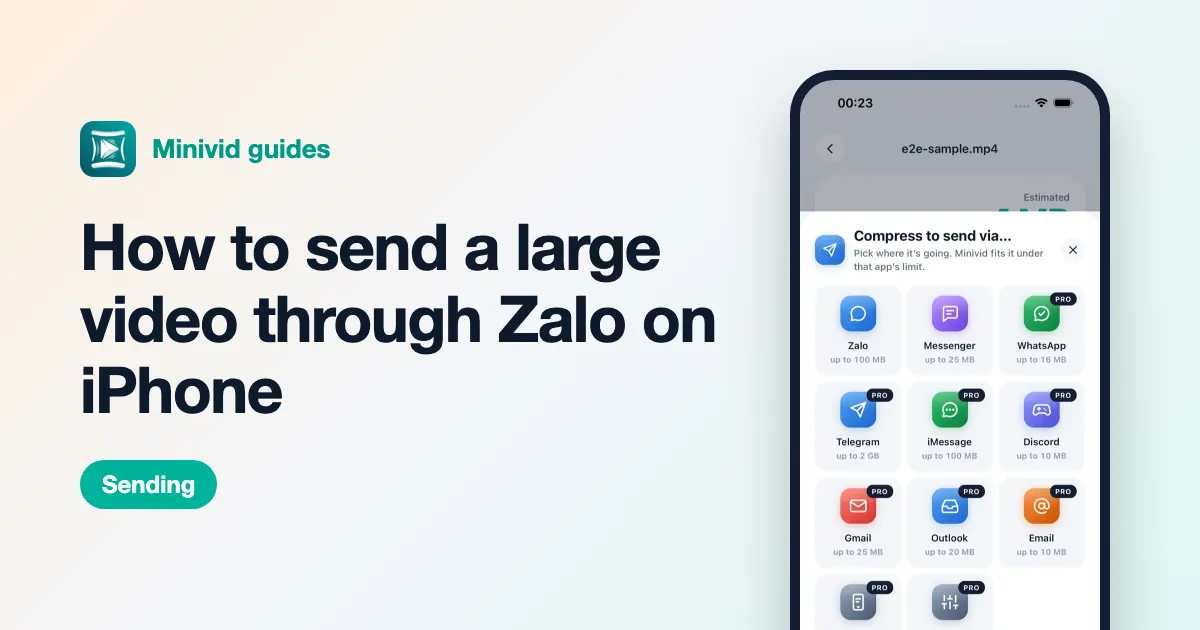
6 min read
How to send a large video through Zalo on iPhone
Zalo refuses or squeezes a big video? Send it as a file instead of a video, use Zalo PC, share a link, or compress it under the limit — step by step on iPhone.
Read guide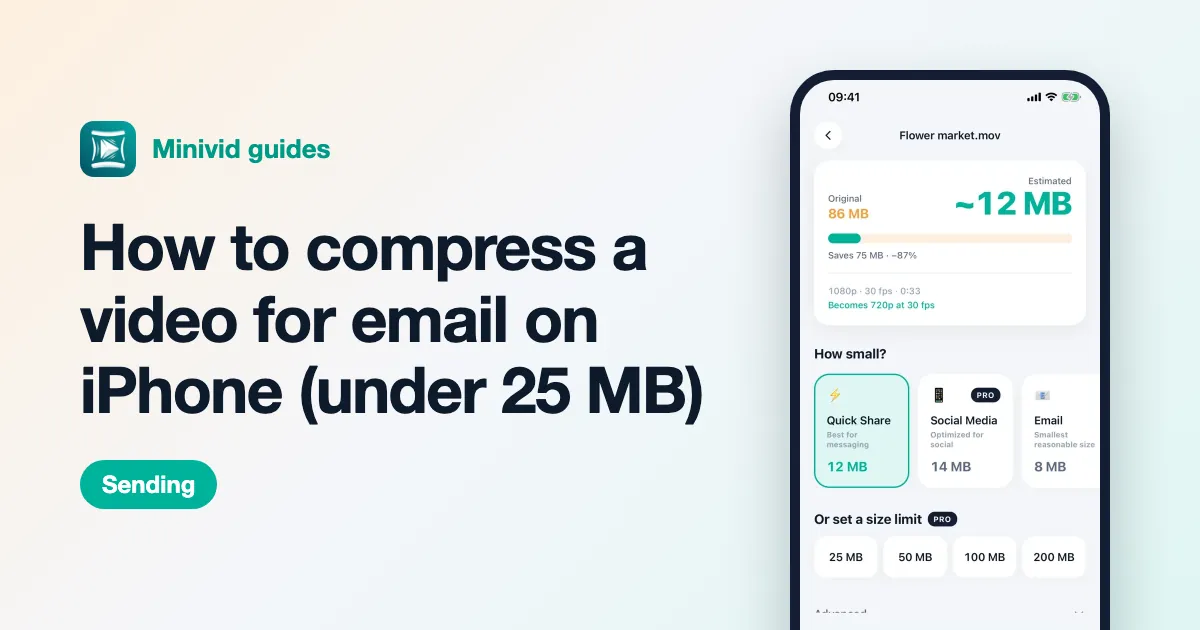
6 min read
How to compress a video for email on iPhone (under 25 MB)
Why a 24 MB video still bounces, how much headroom Gmail and Outlook really need, quick size maths, and how to shrink a video for email with tools already on your iPhone.
Read guide
6 min read
How to send a long video on WhatsApp from iPhone
WhatsApp cutting your video short or making it blurry? Its media limit, the HD toggle, sending as a document for full quality, splitting, links and compressing to fit.
Read guide
6 min read
iCloud link or compressed video: which is better for sending from iPhone?
Copy iCloud Link and Mail Drop send any size at full quality; a compressed file plays straight in the chat and never sits on a server. A side-by-side comparison, and when to pick each.
Read guideFree up storage
7 min read
How to free up iPhone storage without deleting your videos
iPhone storage full? Find what is using the space, empty Recently Deleted, clean up duplicates and shrink old videos instead of deleting them — step by step.
Read guide
6 min read
How to convert Live Photos to still photos and save space on iPhone
Live Photos store a short video with every picture. Turn them into ordinary stills with the Photos app, stop new ones from being taken, and get the space back — step by step.
Read guide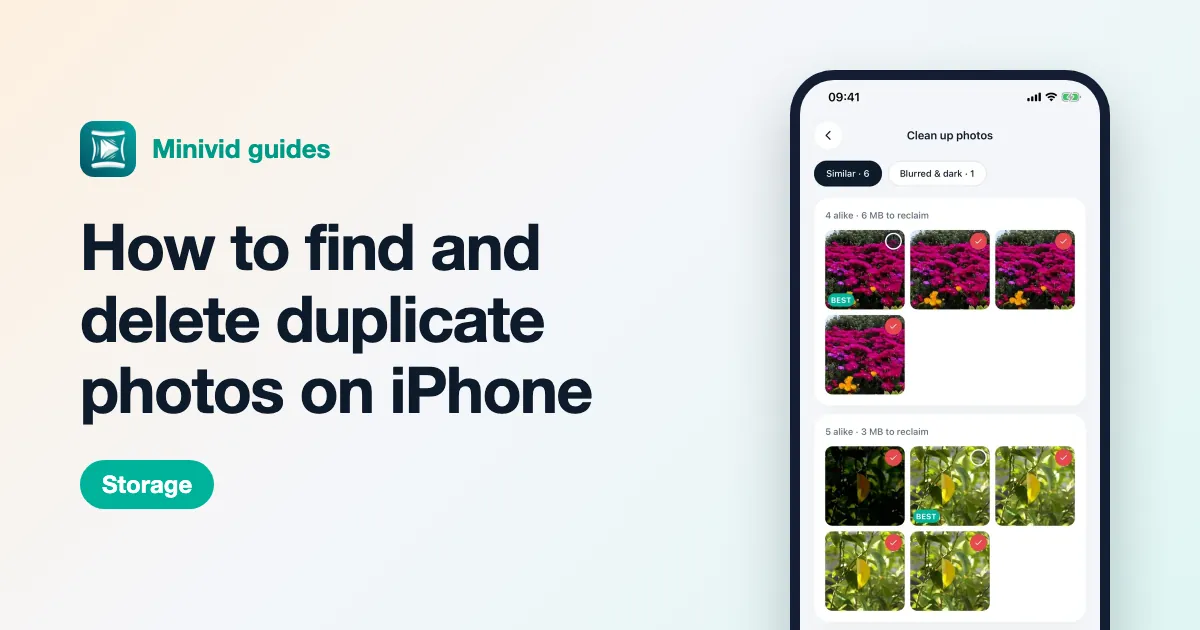
6 min read
How to find and delete duplicate photos on iPhone
Use the built-in Duplicates album in Photos to merge identical copies, then deal with the near-duplicates, bursts and blurry shots it does not catch — without deleting the photo you wanted to keep.
Read guide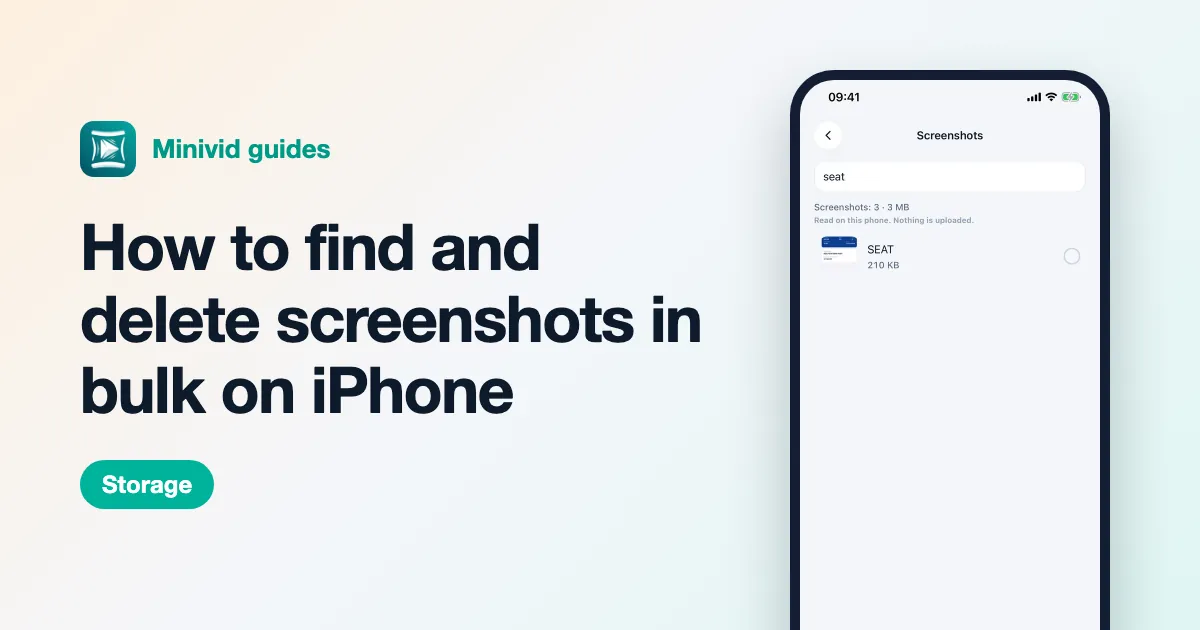
6 min read
How to find and delete screenshots in bulk on iPhone
Thousands of old screenshots eating your iPhone storage? Open the Screenshots album, select them in one swipe, keep the few you need by searching their text, and empty Recently Deleted.
Read guidePhotos
6 min read
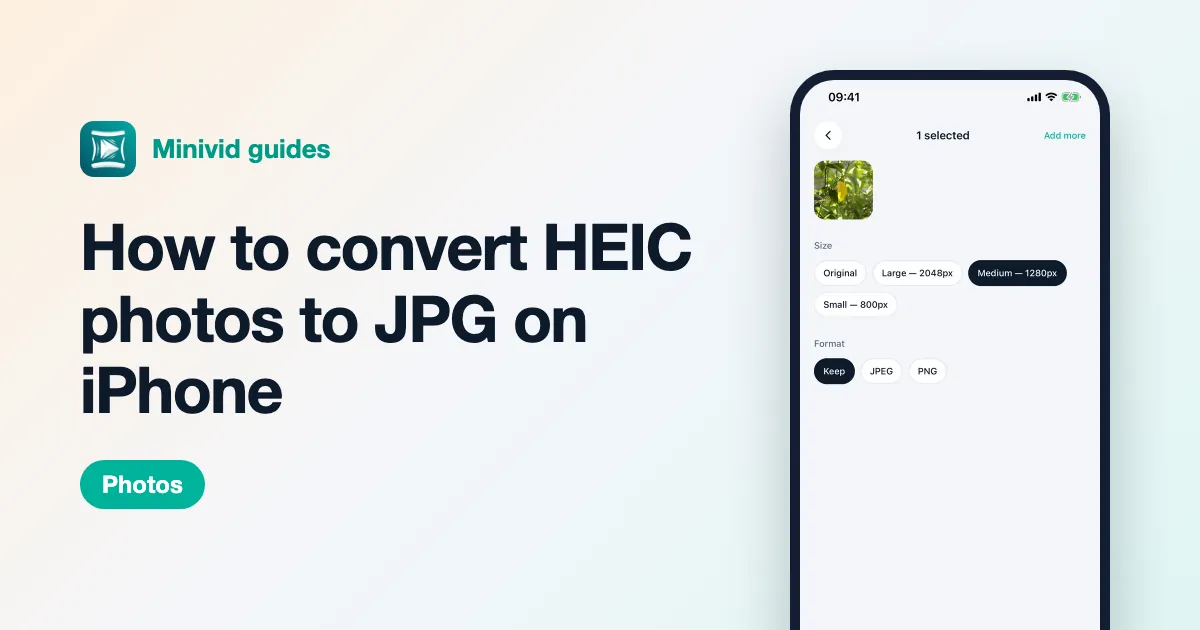
How to convert HEIC photos to JPG on iPhone
iPhone photo won’t open on a PC or a website because it’s HEIC? Get a JPG with the Files app, switch the camera format, or change how photos transfer to a computer — no upload to a converter site.
Read guide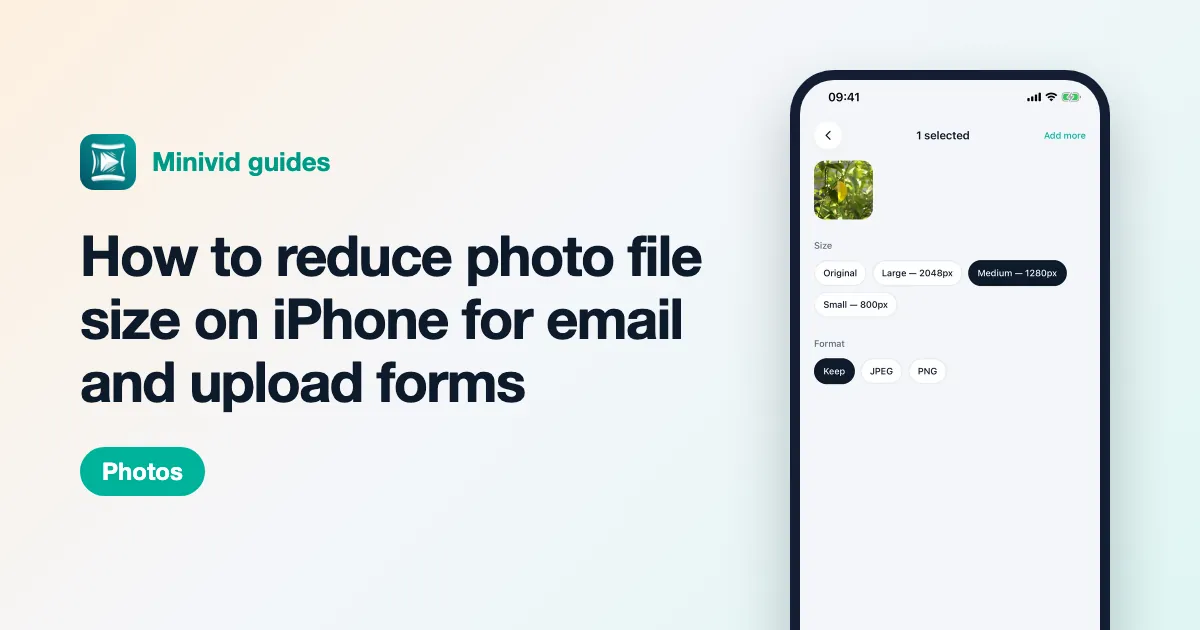
6 min read
How to reduce photo file size on iPhone for email and upload forms
Upload form says your photo is over 1 MB, or an email won’t send? Make iPhone photos smaller with Mail’s size options, cropping and a Shortcuts action — and pick a resolution that’s just enough.
Read guide
6 min read
How to hide and lock private photos and videos on iPhone
Hide photos and videos on iPhone with the Face ID–locked Hidden album, lock the whole Photos app on iOS 18, and know when an encrypted vault is worth it — and what it costs you in backups.
Read guide
6 min read
How to remove an object or person from a photo on iPhone
Erase a stranger, a bin or a power line from an iPhone photo: use Clean Up in Photos if your iPhone supports it, crop or retouch when it does not, and keep the original safe either way.
Read guideUse cases
7 min read
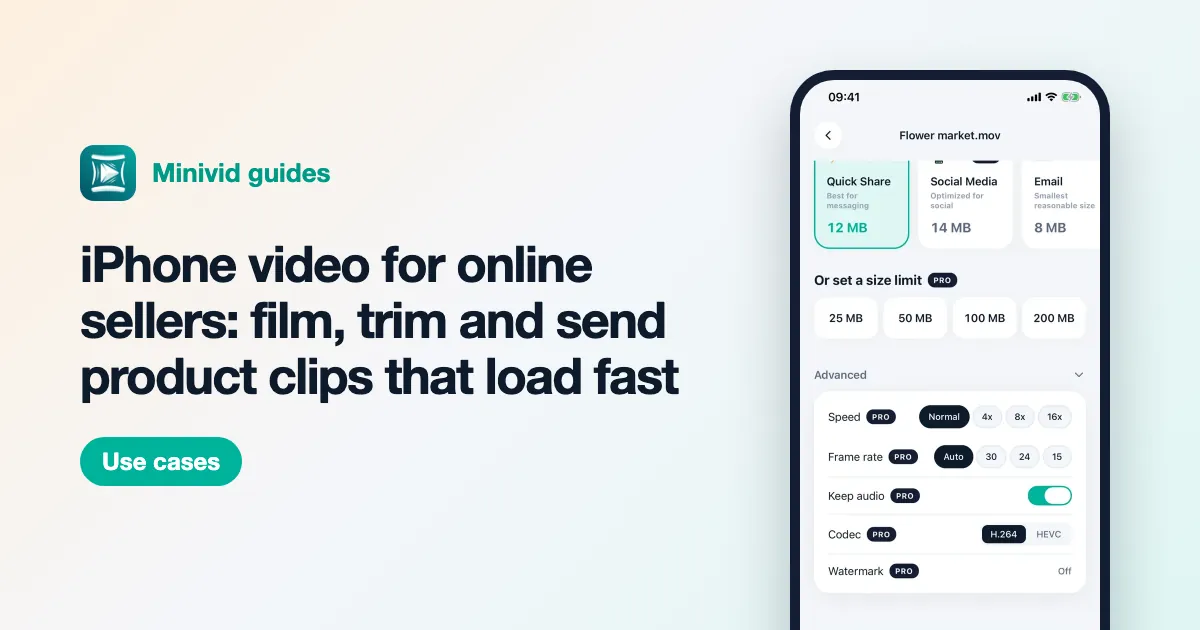
iPhone video for online sellers: film, trim and send product clips that load fast
A practical workflow for people who sell on Facebook, TikTok Shop, Shopee and Zalo: shoot short product clips, cut highlights out of a livestream, send them to customers under each app’s limit and keep the phone from filling up.
Read guide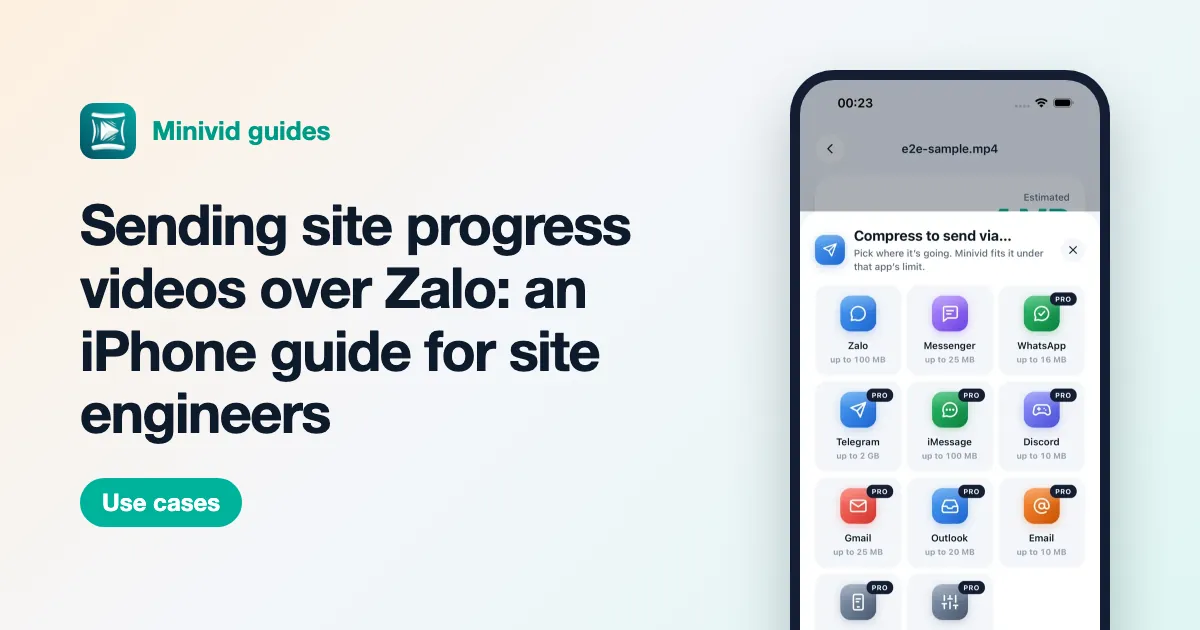
7 min read
Sending site progress videos over Zalo: an iPhone guide for site engineers
How site engineers and supervisors can shoot consistent daily progress clips, send them to the office or client over Zalo without hitting the limit, keep the originals for the record and stop the phone filling up.
Read guideNeed a quick answer instead? Read the FAQ