How to convert Live Photos to still photos and save space on iPhone
Published 1 October 2026 · 6 min read
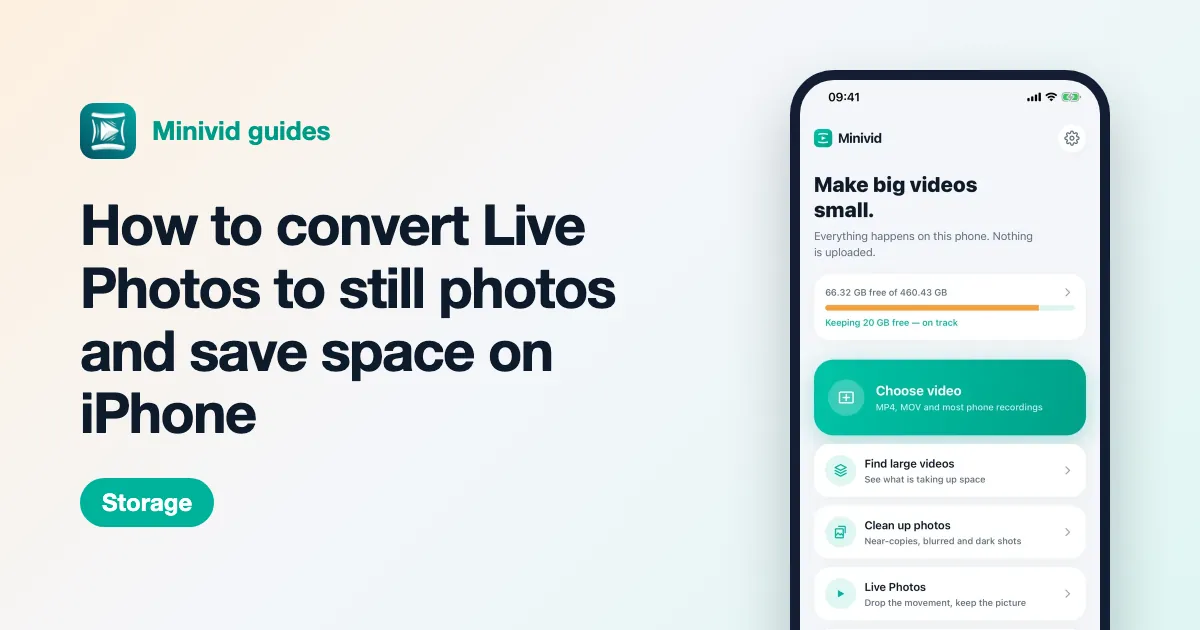
Every Live Photo is a still picture plus a short video of the moments around it, so it takes noticeably more space than a normal photo. To get that space back, save a still copy of each one (in Photos: ⋯ › Duplicate › Duplicate as Still Photo), delete the Live original, then empty Recently Deleted. To stop the problem growing, turn Live off in the Camera app and tell iOS to keep it off.
This guide explains what a Live Photo actually stores, which methods really free space and which only change how the photo plays, and how to deal with hundreds of them without losing the pictures you care about.
Why does a Live Photo take more space than a normal photo?
When Live is on, the camera keeps recording a little before and after you press the shutter. The result is two files that iOS shows as one item: the still image and a short video clip, usually around three seconds long.
The video part is what costs the space. How much depends on your iPhone and settings, but every Live Photo carries a few seconds of video on top of the picture. On a phone with thousands of photos, that can add up to gigabytes — space spent on movement most people never play back.
Live is switched on by default in the Camera app, so if you have never changed it, most of your photos are probably Live Photos.
How do I see which of my photos are Live Photos?
- 1Open Photos and go to Albums (on newer iOS versions, scroll down the library to find Collections and Media Types).
- 2Under Media Types, tap Live Photos.
This album lists every Live Photo in your library, newest first. It is the easiest place to review them and select several at once.
How do I convert a Live Photo to a still photo?
On iOS 16 and later, Photos can save a still copy directly:
- 1Open the Live Photo in Photos.
- 2Tap the ⋯ button at the top right (or the Share button on some versions).
- 3Tap Duplicate. For a Live Photo, iOS asks whether you want Duplicate or Duplicate as Still Photo — choose Duplicate as Still Photo.
- 4The still copy appears in your library next to the original.
- 5Check the copy, then delete the original Live Photo.
You can also select several Live Photos in the Live Photos album, tap ⋯ and choose Duplicate; on recent iOS versions the same still option is offered for the whole selection. The exact wording of the menu varies a little between iOS versions.
Converting does not free any space by itself — at that moment you have both copies. The space comes back only after you delete the Live originals and empty Recently Deleted.
Does turning off Live in Edit free up space?
Not reliably. In Photos you can open a Live Photo, tap Edit, then tap the Live button so it is crossed out. That stops the photo playing as a Live Photo, but the edit is non-destructive: iOS keeps the original so you can turn Live back on later. In practice the video part is usually still stored, so this is a way to change how the photo looks, not a way to save storage.
If space is the goal, use Duplicate as Still Photo and delete the original instead.
How do I get the space back after converting?
Deleted photos are moved to Recently Deleted and kept there for 30 days, still using storage. To free the space now:
- 1In Photos, open Albums and scroll to Utilities, then open Recently Deleted (it may ask for Face ID or your passcode).
- 2Check that only the Live originals you meant to remove are there.
- 3Tap Select, then Delete All, or delete just the ones you choose.
If you use iCloud Photos, deleting on the iPhone also deletes the item from iCloud and your other devices, so make sure the still copy is in your library before you clear the original.
How do I stop new photos being Live Photos?
- 1Open the Camera app in Photo mode and tap the Live button (the circle of rings) so it shows Live Off.
- 2Open Settings › Camera › Preserve Settings and turn on Live Photo. Without this step the camera switches Live back on the next time you open it.
You can still turn Live on for a particular shot when you want the movement — for example a child blowing out candles.
What do you lose when you convert?
- The movement and the sound recorded with the photo. Live effects such as Loop, Bounce and Long Exposure need it, so make those first if you want them.
- Possibly some organisation. A duplicate is a new item: depending on your iOS version, it may not be in the same albums or marked as a favourite like the original. Check before you delete the original if your albums matter to you.
- Nothing in picture quality. The still keeps the full-resolution key photo.
A sensible approach is to keep the Live versions of the few moments where the movement matters and convert the rest: receipts, screenshots of whiteboards, landscapes and most everyday shots.
Where does Minivid help?
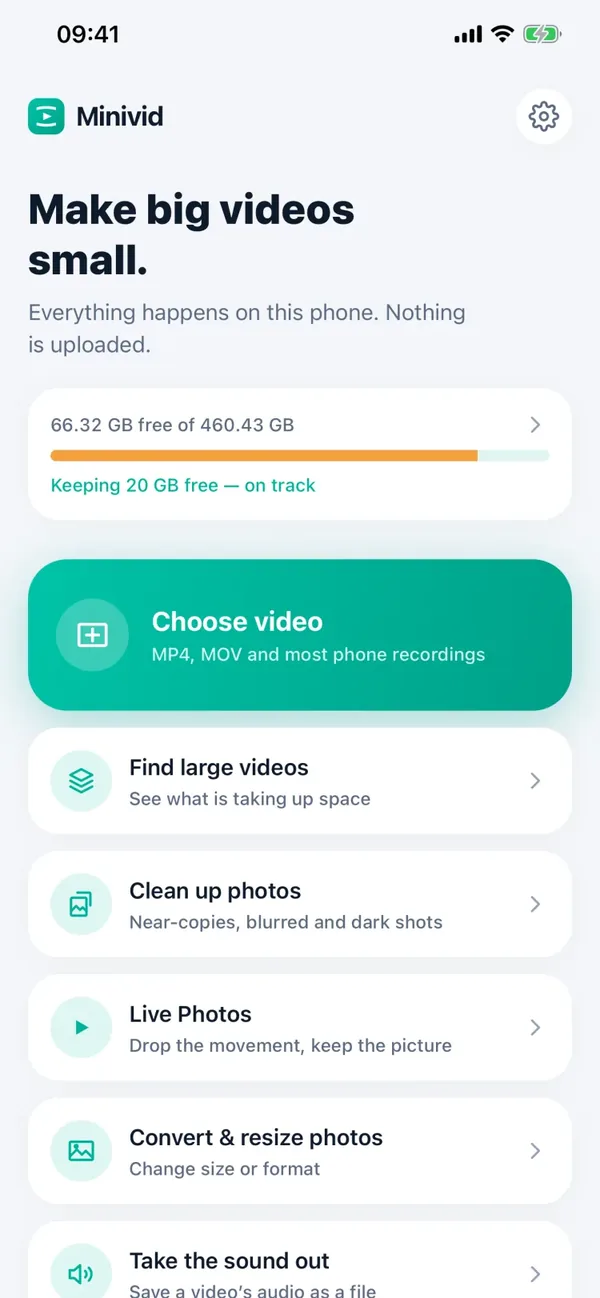
Doing this by hand works, but it is slow for hundreds of photos. Minivid has a Live Photos screen that lists every Live Photo in your library with how much space converting would give back, and converts the ones you select to stills in one go. It is free.
Converting in Minivid keeps the picture and its date, so the still stays in the same place in your timeline, and drops the movement. Like any new copy, the still does not keep album membership or favourites — Minivid says so on the screen before you start. Everything happens on your iPhone; nothing is uploaded. As always, the space comes back once Recently Deleted is emptied.
Want to know the size before you compress?
Minivid compresses video on your iPhone and shows the final size before it starts. Your videos are never uploaded.