How to compress a video on iPhone without losing quality
Published 1 October 2026 · 6 min read
iPhone videos are big because the camera records with far more data per second than most people ever need. That is a good default for the moment you press record — you can always throw data away later, but you can never add it back. It does mean a two-minute clip of a birthday can be too big to email, slow to send in a chat and a real dent in your storage.
The good news: you can usually make a phone video several times smaller without anyone being able to tell the difference on a phone or laptop screen. This guide explains which settings actually matter, then walks through the ways to do it with tools that are already on your iPhone.
What “without losing quality” really means
Any compression that makes a video meaningfully smaller removes some information. Truly lossless video compression exists, but it barely shrinks camera footage. The realistic goal is no visible loss: the file gets much smaller, and the picture still looks the same at the size people will watch it.
Four things decide how big a video file is:
- Length — a shorter clip is a smaller file. Nothing else is as effective.
- Resolution — 4K has four times the pixels of 1080p. On a phone screen the difference is hard to see.
- Frame rate — 60 fps stores twice as many frames as 30 fps. It matters for fast motion, much less for people talking.
- Bitrate and codec — how much data is spent per second, and how efficiently. HEVC (H.265) reaches the same quality as H.264 with a noticeably smaller file.
Work through them in that order and you will rarely need to push the bitrate so low that the picture falls apart.
Step 1: Trim the parts nobody needs
Most clips have a few seconds of fumbling at the start and the end. Cutting them costs no quality at all.
- 1Open the video in the Photos app and tap Edit.
- 2Drag the yellow handles at either end of the timeline to keep only the part you want.
- 3Tap Done, then choose Save Video as New Clip so the original stays untouched.
If the clip is long, ask yourself whether the person receiving it needs all of it. Sending the best thirty seconds is often the biggest saving you will make.
Step 2: Choose a resolution for where it will be watched
Match the resolution to the screen, not to the camera:
- Watching on a TV or editing later: keep 4K or 1080p.
- Watching on phones and laptops: 1080p is plenty.
- Sending in a chat app: 720p usually looks fine, and many chat apps re-compress to around that anyway.
Dropping one step, such as 4K to 1080p, is where most of the size goes with the least visible change. Dropping below 720p is where people start to notice softness.
Step 3: Keep the frame rate unless you need the space
If the clip was recorded at 60 fps and shows mostly people talking, scenery or slow movement, 30 fps will look almost identical and needs far less data. For sports, pets running or quick camera pans, keep 60 fps and save space through resolution instead.
Never go below the frame rate the video was recorded at expecting it to look smoother — reducing it only ever removes frames.
Step 4: Pick the codec
HEVC gives you a smaller file at the same visual quality and every recent Apple device plays it. H.264 is larger but plays everywhere, including older Windows PCs, some smart TVs and many websites. If you are not sure what the other person uses, H.264 is the safe choice; for your own library, HEVC is the better one.
Ways to compress with tools already on your iPhone
iOS has no single “compress” button, but two built-in routes work well.
Shortcuts, using the Encode Media action:
- 1Open the Shortcuts app, tap +, then Add Action and search for Encode Media.
- 2Set its input to Shortcut Input, and in the shortcut’s settings turn on Show in Share Sheet so it accepts videos.
- 3Tap the arrow on the Encode Media action to show more options and set Size (for example 1280×720 or 1920×1080), or choose Ask Each Time.
- 4Add a Save to Photo Album action after it.
- 5In Photos, open a video, tap Share and run your shortcut. The compressed copy is saved as a new video.
iMovie, which is free from Apple:
- 1Create a new Movie project and add your clip.
- 2Tap Done, then the Share button.
- 3Tap Options at the top of the share sheet and choose a lower resolution, then Save Video.
Both use the iPhone’s own hardware encoder, so they are fast and your video never leaves the phone. The downside is that neither tells you how big the result will be until it is finished, so getting under a specific limit can take a few tries.
Mistakes that cost quality for nothing
- Compressing a file that was already compressed. Each pass loses a little more. Always start from the original.
- Uploading to a random website to shrink it. It takes longer than doing it on the phone, and your video sits on someone else’s server.
- Picking the smallest preset by default. Try one step at a time and stop when the size is good enough.
- Deleting the original before checking the copy. Watch the result full screen first, looking at dark scenes and fast motion, where blockiness shows up first.
Record smaller from the start
If storage is a constant problem, change the camera defaults so future videos start smaller. In Settings, go to Camera, then Formats, and choose High Efficiency to record in HEVC. Then open Record Video and pick 1080p at 30 fps for everyday clips. The screen shows roughly how much space a minute takes for each option, which makes the trade-off easy to judge. Switch back to 4K for the moments you know you will want at full detail.
Where Minivid helps
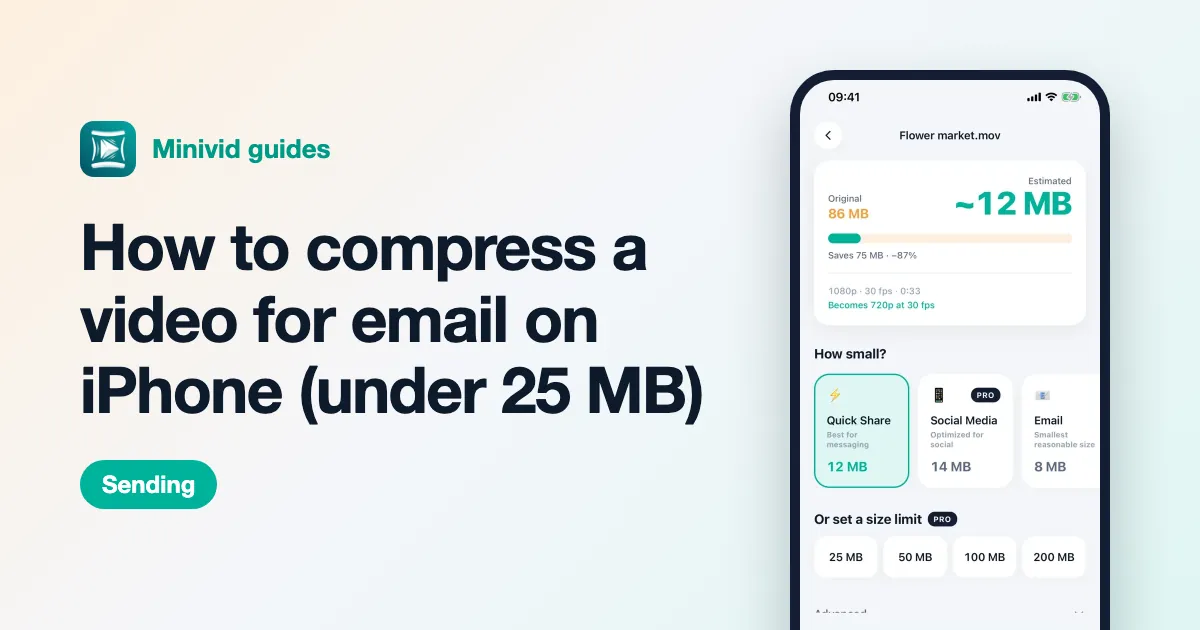
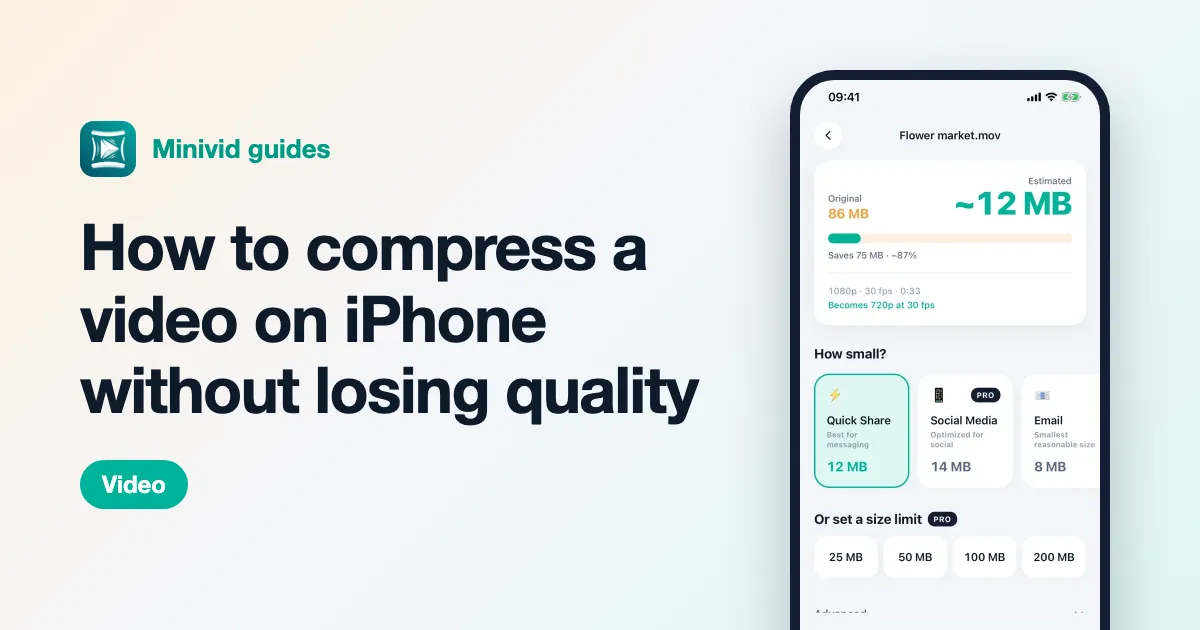
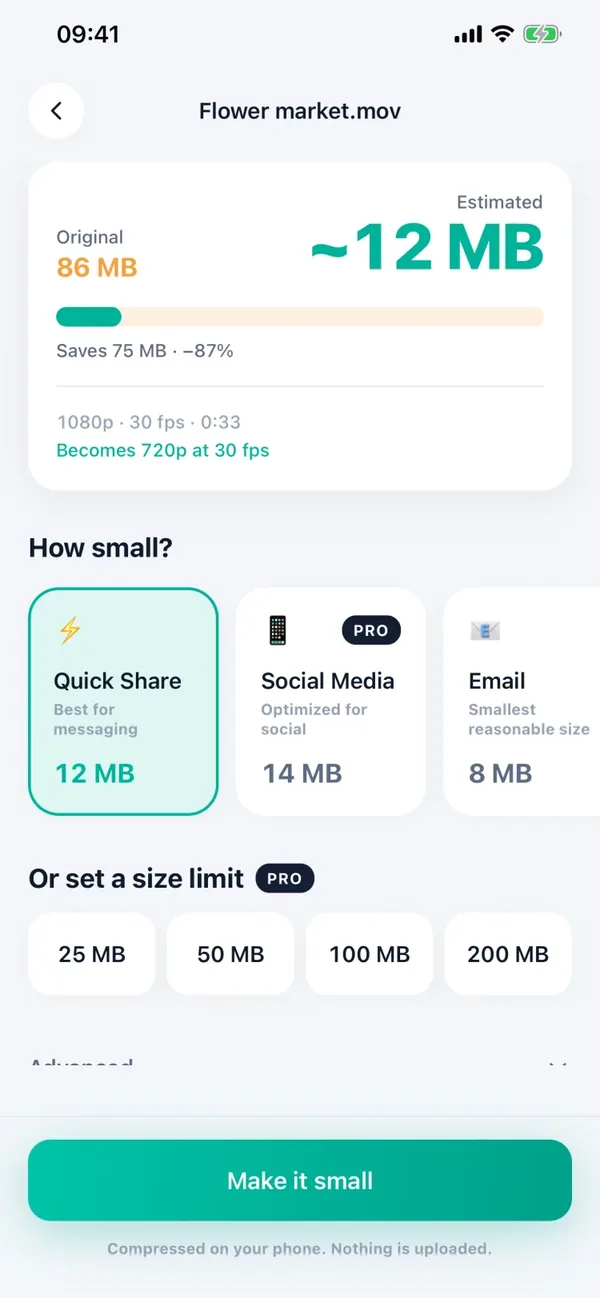
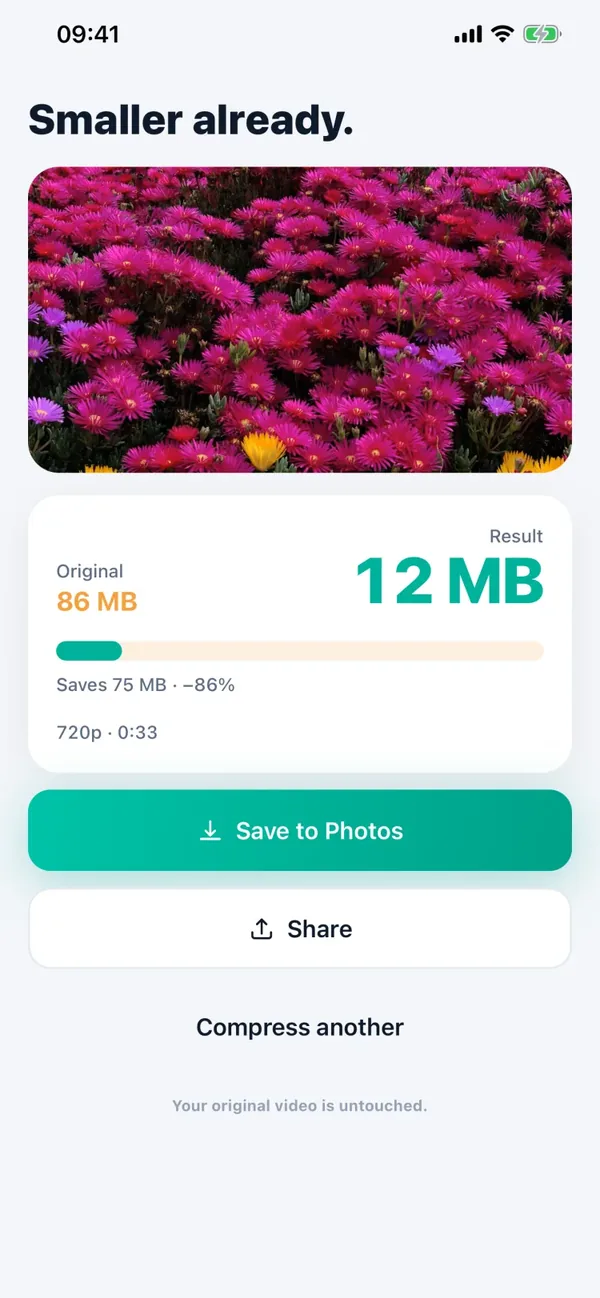
Minivid does the steps above in one place, on the device. Pick a video and it shows the size the result will have before it starts encoding, and the number updates as you change the preset, resolution or frame rate — so you can stop at the smallest setting that still looks right instead of guessing.
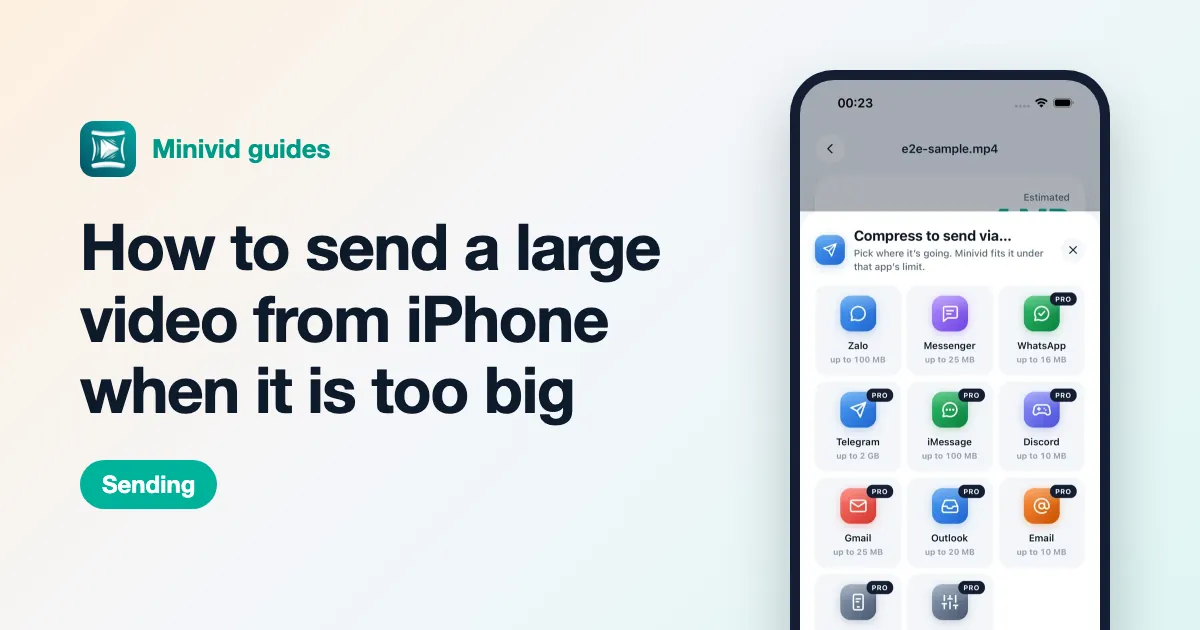
You can trim before compressing, pick a purpose such as Quick Share or Keep Quality, or with Pro name an exact limit like 25 MB and let it find the highest resolution that fits. The original is never modified, and nothing is uploaded.
Want to know the size before you compress?
Minivid compresses video on your iPhone and shows the final size before it starts. Your videos are never uploaded.