How to speed up a video on iPhone or turn it into a time-lapse
Published 1 October 2026 · 6 min read
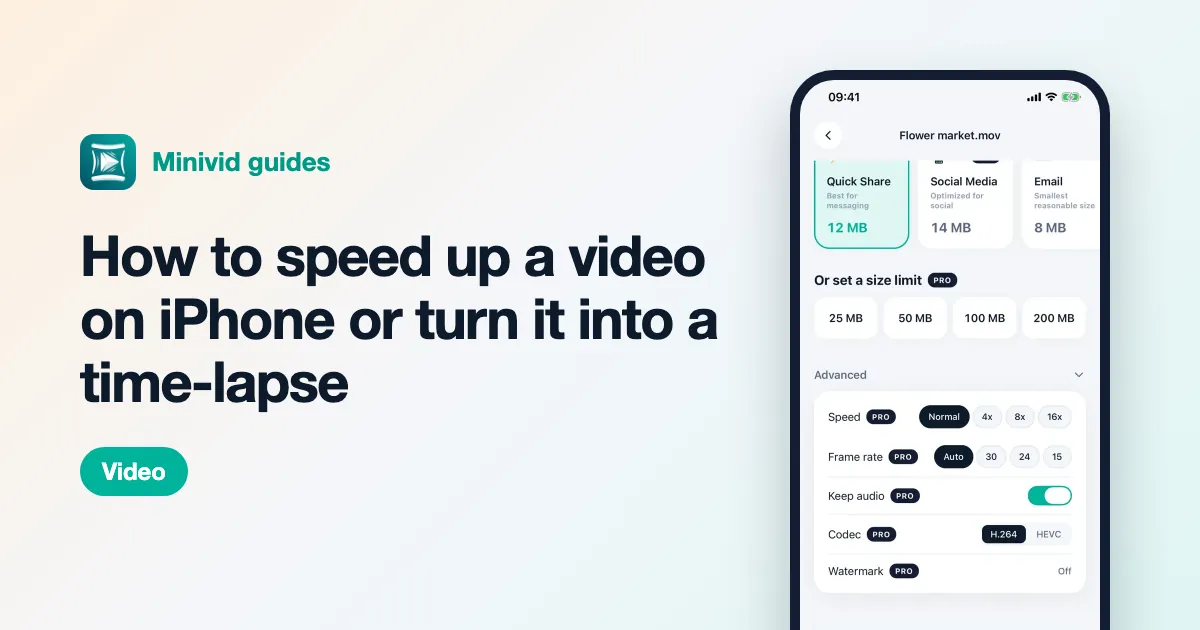
To speed up a video you have already filmed on iPhone, use iMovie, Apple’s free editor: add the clip to a new movie, tap it, tap the speed button and drag the slider towards the hare, up to 2x. The Photos app cannot speed up an ordinary video; it only changes the slow part of a slo-mo clip.
For anything faster than 2x — a 20-minute drive squeezed into a minute — you either repeat the iMovie step or film with the Camera’s Time-lapse mode next time. Below are both, plus what to do about the sound.
Can the iPhone speed up a video that is already recorded?
Not from the Photos app. Its editor trims, crops, rotates and adjusts colour, but it has no speed control for an ordinary video. The one exception is slo-mo: open a slo-mo clip, tap Edit, and drag the vertical lines in the bar under the timeline to change which part plays slowly — bring them together and the clip plays at normal speed.
The Camera’s Time-lapse mode only applies while you are filming. So for a video that already exists, the built-in route is iMovie, which is free from Apple and may already be on your iPhone.
How do I speed up a video with iMovie?
- 1Open iMovie and tap Start New Project, then Movie.
- 2Select the video and tap Create Movie.
- 3Tap the clip in the timeline so the editing tools appear at the bottom.
- 4Tap the speed button (the speedometer icon).
- 5Drag the slider towards the hare. The label shows the speed, up to 2x.
- 6Tap Done, tap the Share button and choose Save Video.
The faster clip is saved as a new video; the original in your library is untouched. If only part of the clip should be fast, split it first (tap the clip, tap the Actions button and choose Split) and change the speed of that part alone.
How do I make it faster than 2x?
iMovie stops at 2x, but you can run the result through it again:
- 1Speed the clip up to 2x and save it as above.
- 2Start a new project with that saved video and speed it up to 2x again. It now plays at 4x the original.
- 3Repeat once more for 8x.
Each round re-encodes the video, so it loses a little sharpness every time. Pick the original resolution under Options in the share sheet on each export to keep the loss small, and stop at the speed you actually need.
What happens to the sound when a video is sped up?
At 2x, speech becomes fast and hard to follow, and at 4x and beyond the audio is just noise. For a time-lapse that is rarely what you want. In iMovie, tap the clip and use the volume button to mute it, or add music from the Audio section of the media browser instead.
If the sound matters, keep that section at normal speed and only speed up the parts in between.
How do I film a proper time-lapse next time?
If you know in advance that you want a sped-up video — a sunset, a build, a drive — the Camera app does it better than any after-the-fact edit, because it captures fewer frames to begin with and the file stays small.
- 1Open Camera and swipe through the modes to Time-lapse.
- 2Put the iPhone somewhere steady: a tripod, a mount, or wedged against something solid. Any wobble is magnified.
- 3Touch and hold the screen on your subject until AE/AF Lock appears, so the exposure does not jump around as the light changes.
- 4Tap the record button, and tap it again when you are done.
The iPhone picks the interval between frames by itself, so a long recording still ends up as a short clip. You do not need to plan the maths.
Where does Minivid help?
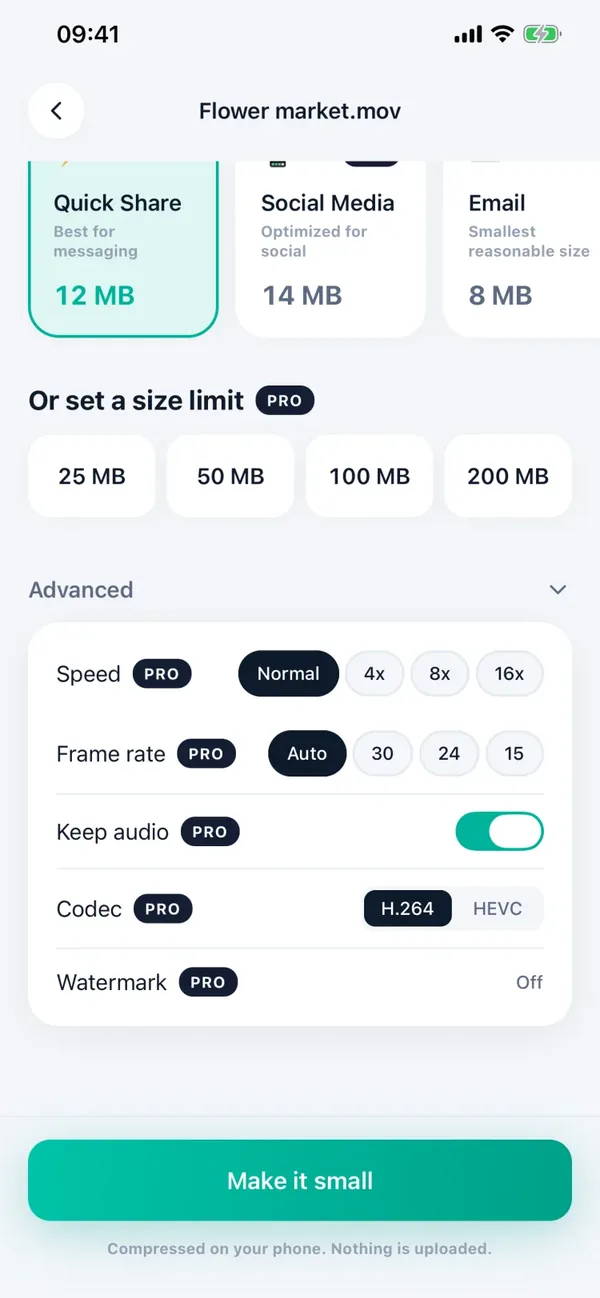
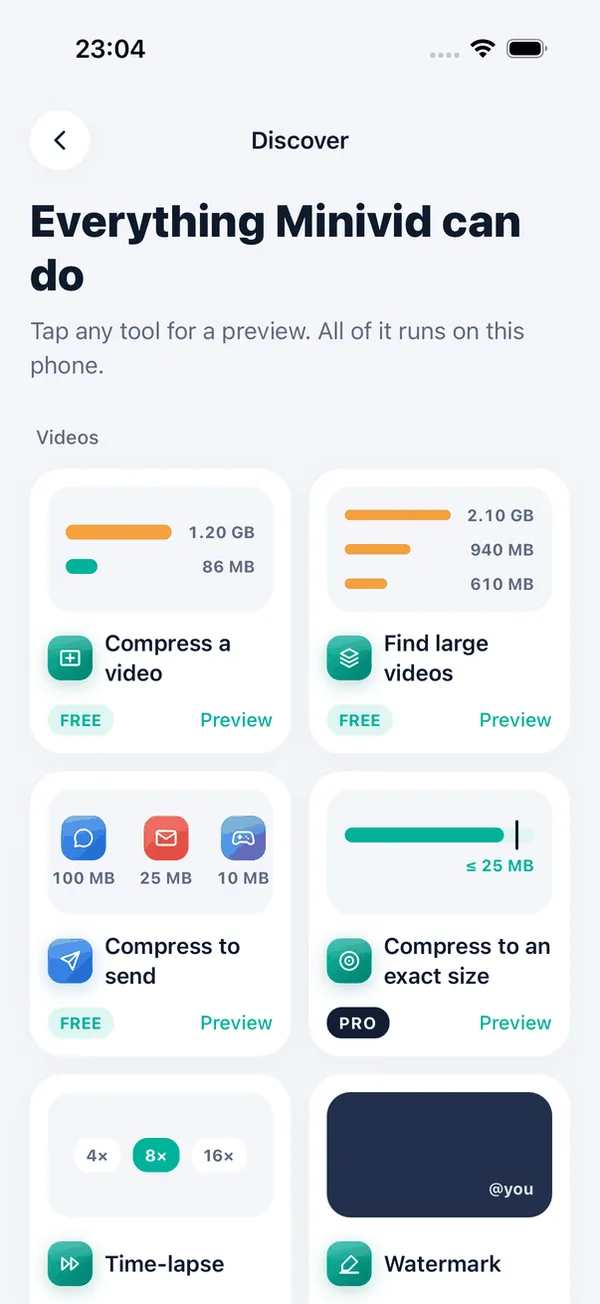
Minivid has a time-lapse option for videos you have already filmed. On the setup screen, open Advanced and choose a speed of 4x, 8x or 16x; the video is sped up and compressed in a single pass on your iPhone, so a long recording becomes a short, small file you can send. You can trim first if only part of it should be in the time-lapse.
A time-lapse has no sound, which is usually what you want at those speeds. Time-lapse is part of Minivid Pro — you can open the screen and look around for free — and like everything else in the app it runs on the phone: nothing is uploaded, and the original video is never changed. If 2x is enough, iMovie does the job for free.
Want to know the size before you compress?
Minivid compresses video on your iPhone and shows the final size before it starts. Your videos are never uploaded.